Product information
Description
Using the Hydrodouche
Before using the Hydrodouche ensure that the hydro wand is placed upright in the holder and that the flow regulator is fully depressed in the off position.
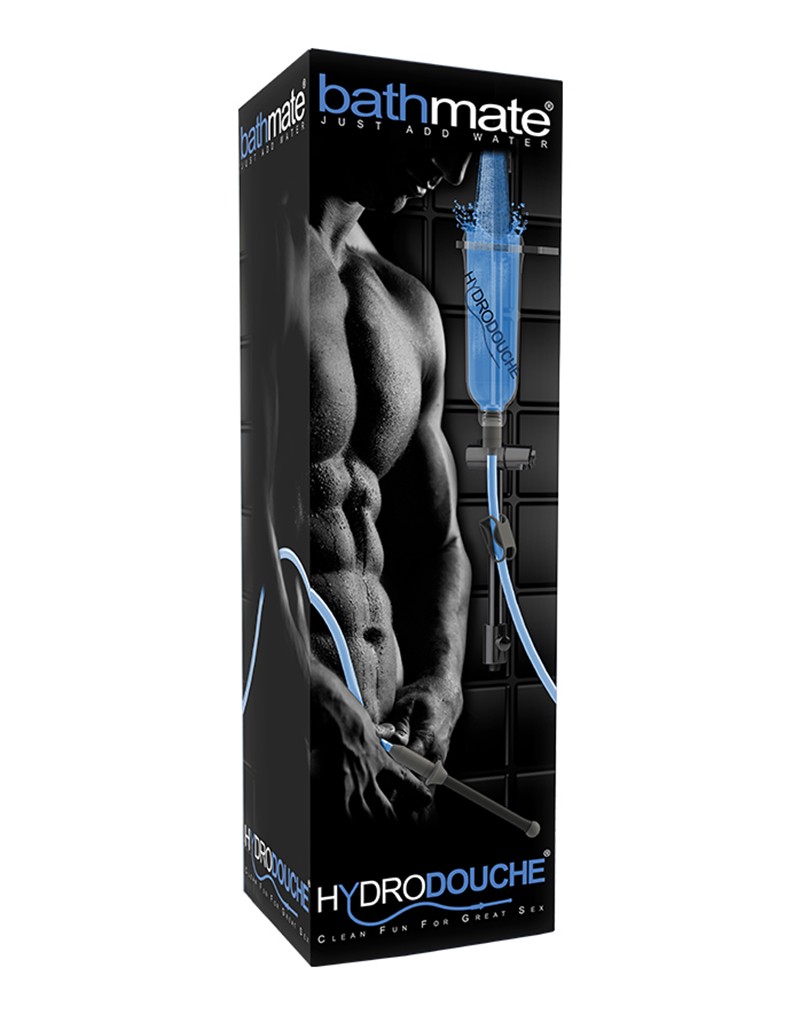
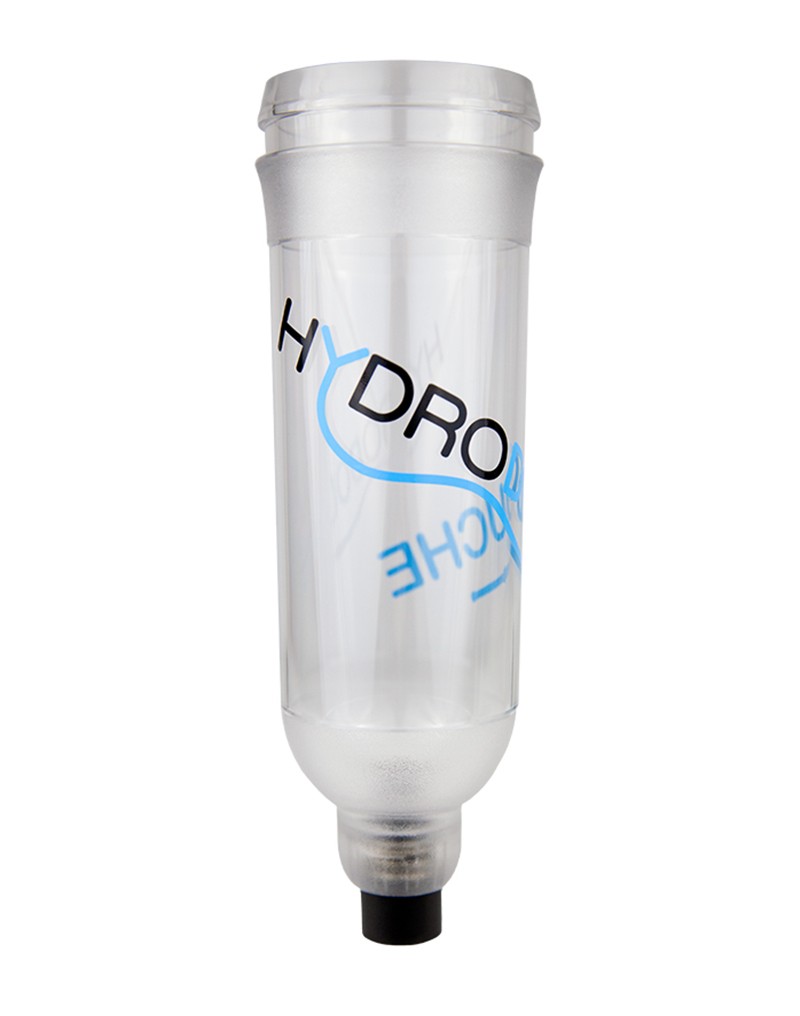
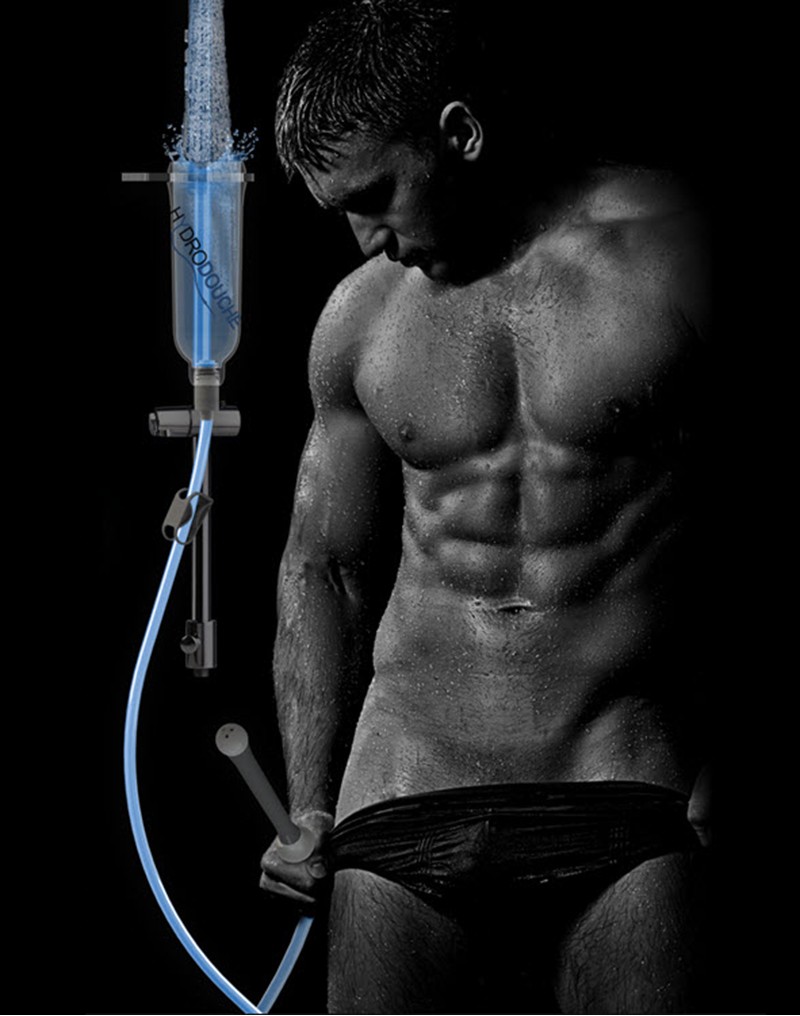
Start your shower and select a suitable water temperature. Allow the hydro chamber to fill with water until it overflows. Remove the hydro wand from the holder and whilst holding it with the tip pointing downwards, fully open the flow regulator thereby allowing the water to flow through the hose displacing any air. Once a steady flow is achieved, double-check the water temperature is correct and adjust the flow regulator to the desired level. Check that there is sufficient water in the chamber for the intended use and top up if necessary. Alternately the shower head may be positioned over the chamber to provide a constant flow.
Assembling the Hydrodouche
Care should be taken to ensure that the Hydrodouche is assembled correctly in order to obtain full use. Incorrect assembly and/or misuse will not provide the best results and may invalidate the warranty.
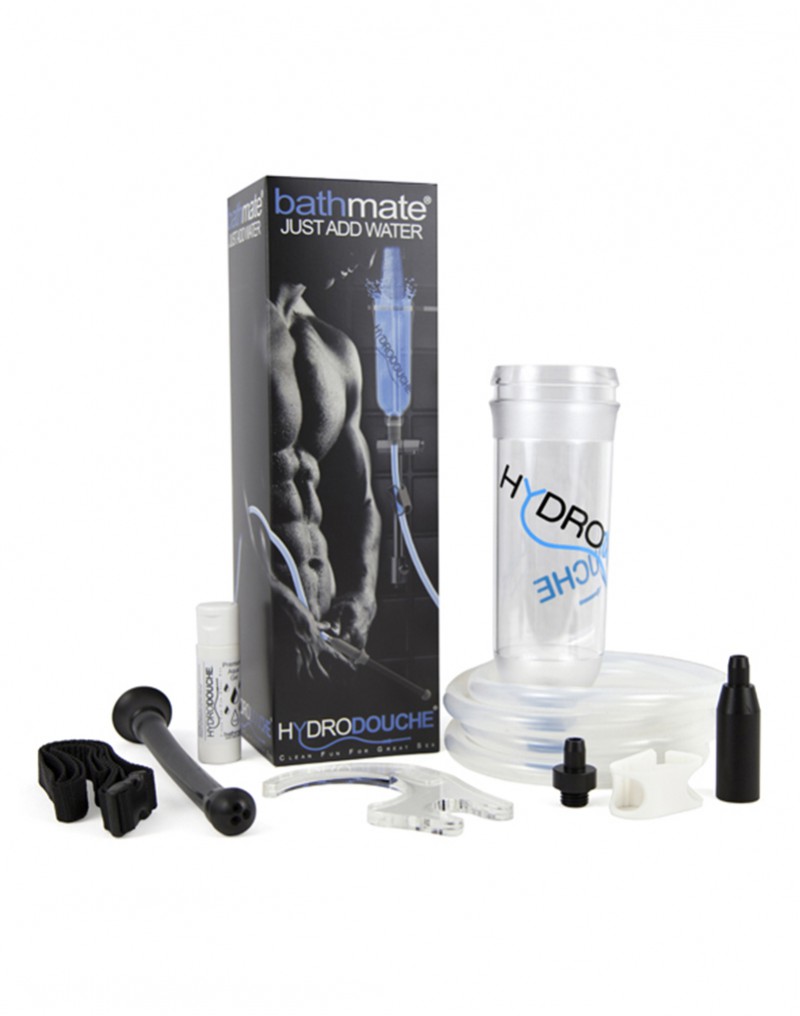
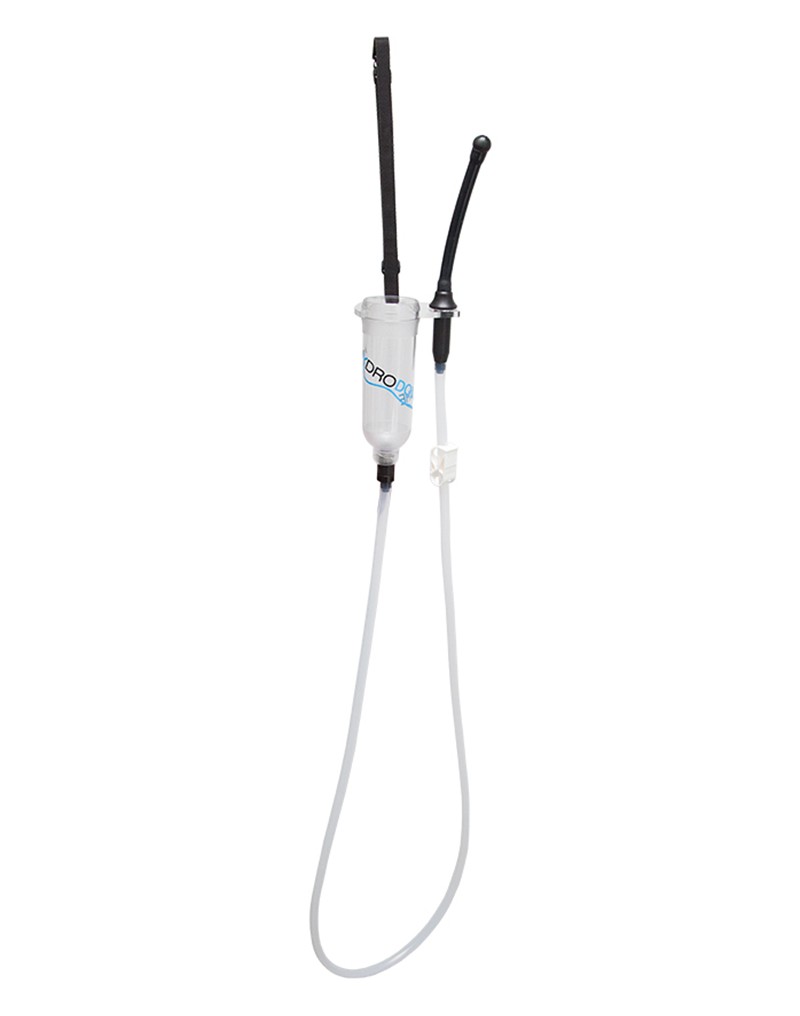
- The Hydrodouche comprises:
- • Adjustable Securing Strap
- • Mounting Bracket/Hydro Wand Holder
- • Hydro Chamber
- • Chamber Connector
- • Hose
- • Flow Regulator
- • Hydro Wand Connector
- • Hydro Wand
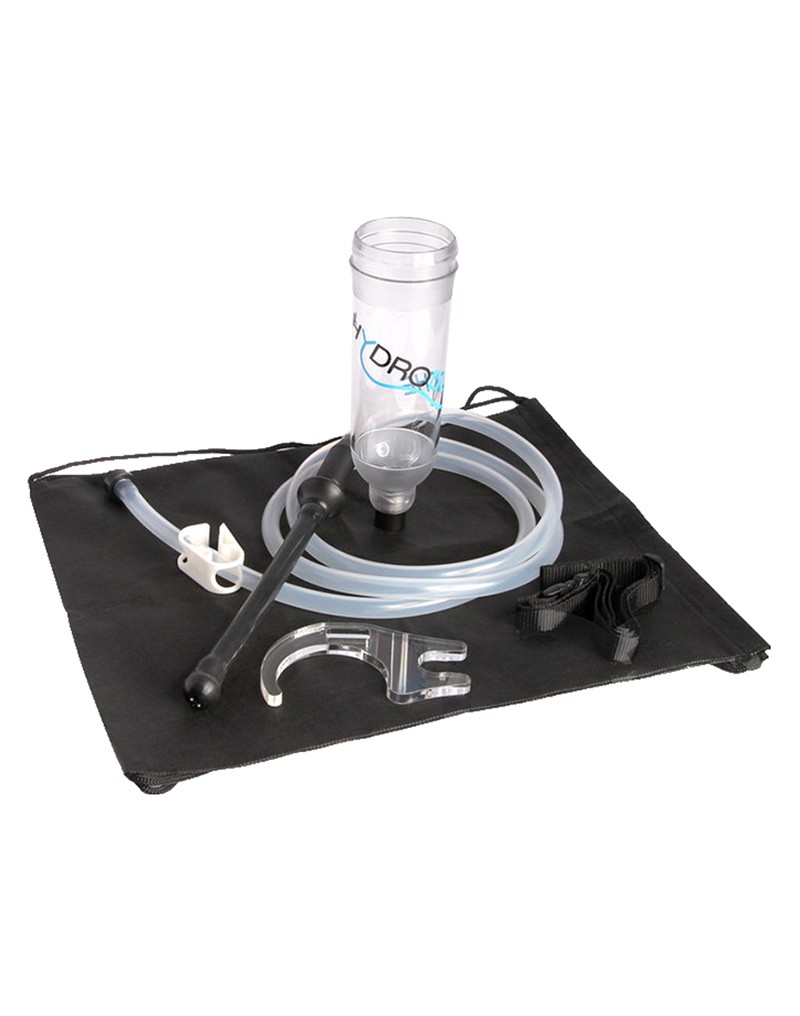
To assemble the Hydrodouche, first attach the mounting bracket to the hydro chamber, noting that the bracket can be reversed to orientate the hydro wand holder either to the left or the right-hand side of the chamber as desired. The bracket will clip into position with a positive snap, so care should be taken not to trap your finger between the inside of the bracket and the chamber.
Thread the securing strap through the opening in the bracket. Determine a suitable position for the chamber assembly in the shower area, bearing in mind that the chamber needs to be below the shower head in order to be filled, and that the flow of the water issuing from the hydro wand nozzle will be greater the higher the chamber is positioned. Adjust the securing strap to suit.
Attach the hydro wand to the wand connector using the screw thread, being careful not to over-tighten or cross the threads, and position the hydro wand in the bracket. Similarly attach the chamber connector to the chamber assembly.
Feed the hose through the flow regulator before attaching the chamber connector and the wand connector. The regulator may be oriented in either direction and in a position on the hose which is most convenient for use. The wand and chamber connectors are a simple friction fit and the hose can be pushed-on and pulled-off as needed.
Your Hydrodouche is now ready for use.
Cleaning and Maintenance
After use, the Hydrodouche should be disassembled, washed out with warm soapy water and rinsed thoroughly. Ensure that the flow regulator is removed and that no water remains trapped in the hose. Allow it to dry and store it in a dry place away from direct sunlight. In normal use the Hydrodouche is maintenance free, however after an extended period of use you may observe that the translucent hose may become slightly discoloured. This is a natural phenomenon and is totally harmless.
Features
| Waterproof | Waterproof |
| Weight | 0.790 g |
| Allowed on marketplaces? | No |
| Material | Plastic |
| Color | Transparent |


